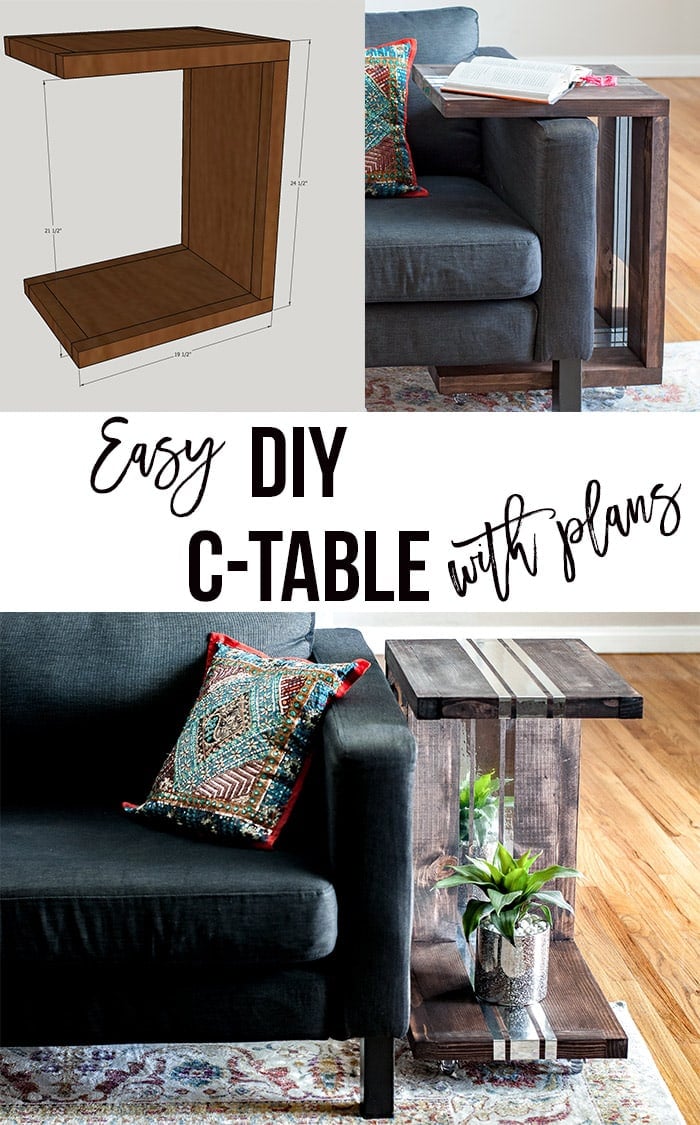
This DIY C-Table makes a perfect addition to any living room. The C shaped table makes it versatile and can be used in so many ways! Add mirror accents to the table to give it a modern touch using a simple trick!
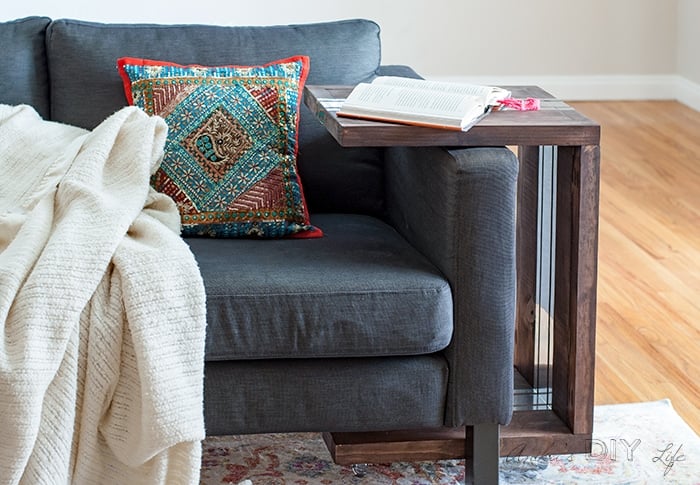
This DIY C-table is the latest addition to our living room.
Not only is it gorgeous, it is practical, modern and versatile!
Apart from being a nice place to put a book or a cup over the sofa arm, it can pretend to be a regular end table too…
Or be the perfect place to put a laptop while binge-watching TV shows and “working”.
*** I partnered with Duck Brand to bring you this fun project. All opinions are my own***
***This post contains affiliate or referral links. It is a way for this site to earn advertising fees by advertising or linking to certain products and/or services. Please read my full disclosure here ***
Ok, so now let’s talk about the stripes of mirrors!
Aren’t they gorgeous? It is Mirror Tape by Duck Brand and I think it completely elevates a simple DIY wood C- table to a whole new level!
RELATED: How to make a DIY Lap Desk with an epoxy top.
Materials Needed for DIY C-Table With Mirror Accents –
RELATED – Take a look at all my favorite tools
How to Build the DIY C-Table –
You can download the plans for the DIY C- table by clicking the button below.
DOWNLOAD PRINTABLE PLANS
It is a fairly quick and simple DIY project and I was able to get the whole thing built in one morning.
Here is a quick video showing you how to make the table and add the mirror tape. Step by step instructions follow below.
Step 1 – Make all the cuts and pocket holes per the plans.
RELATED: EVERYTHING YOU NEED TO KNOW ABOUT USING A KREG JIG
Step 2 – Build the top, bottom and side by attaching the 2″x2″ to the 1″ x 12″ boards using pocket hole screws and wood glue.
Step 3 – Add the second layer of 1″x12″ to create the chunky look and to hide the pocket hole screws.
Step 4 – Attach the 3 separate pieces to form a C-table.
Step 5 – Fill in any visible pocket holes and paint or stain and add the top coat to the DIY C table.
Step 7 – Attach casters to the bottom.
Step 8 – Now for the fun part! Time to add bling! 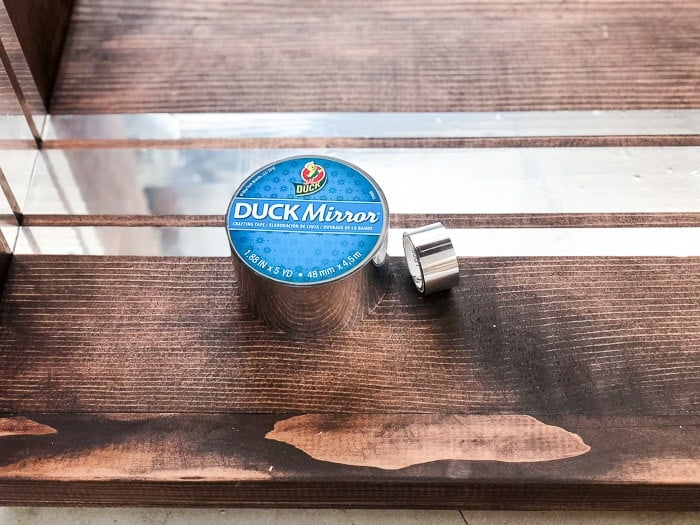
I measured 6 ¼” from each side and added the 1.88″ mirror tape. Then I add the ¾” tape on each side leaving a ¾” gap from the middle tape. Be sure to leave enough to wrap around underneath. I went around the top to the back in a waterfall effect and on the inside too make it look like the mirror was “embedded” in.
RELATED – HOW TO BUILD A CHUNKY SIDE TABLE
I love how the mirror adheres really well to the wood and adds the perfect amount of personality!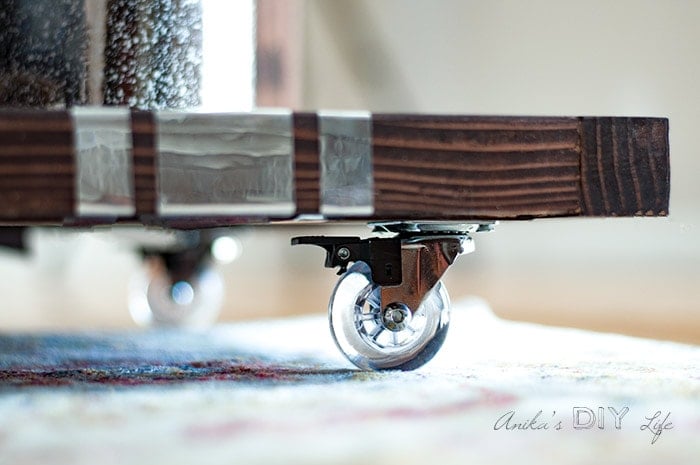
I love having this table in the living room – especially for my late night blogging sessions in front of the TV.
I also love the look of the shiny mirror tape on the table!
What will use mirror tape on? Tag me on Instagram @anikasdiylife and tell me or better yet, show me!