
This DIY Hammock stand is easy to build using 4×4 wood with full instructions, video tutorial, and plans. Learn how to build a hammock stand in a few hours!
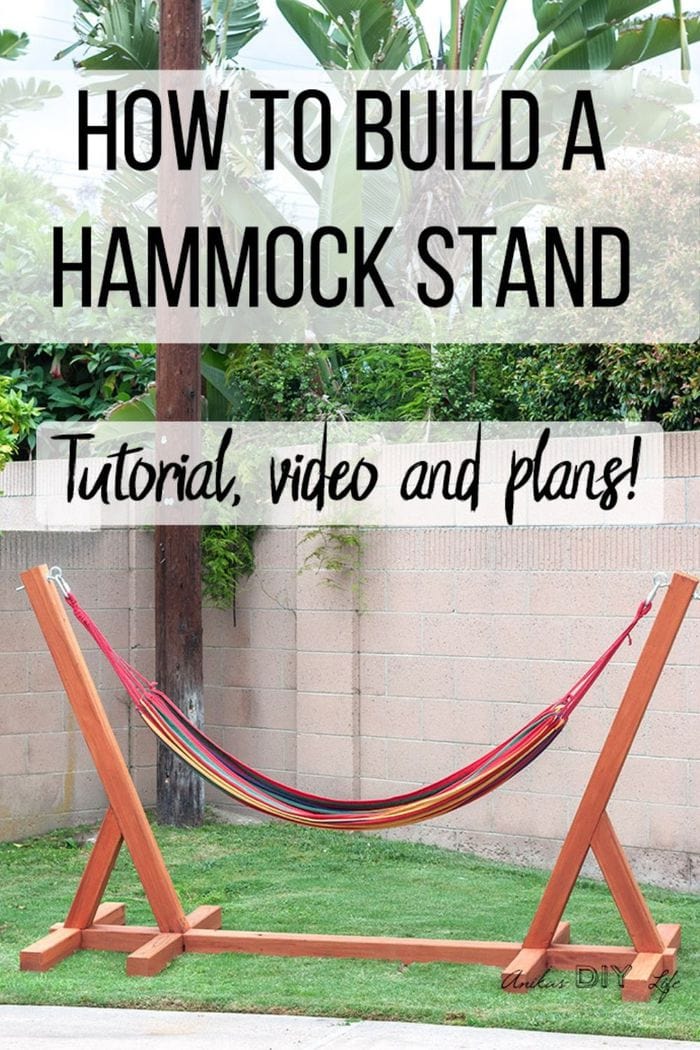
Summer is almost around the corner! I have been busy trying to get our backyard ready for all the summer fun!
We have wanted a hammock in our backyard for a long time…
They make the perfect relaxation spot to snooze, daydream or just enjoy a book. But we don’t have any trees that are close enough or strong enough. So, of course, I built us a hammock stand!
RELATED: 25 Easy DIY Outdoor Projects for your Weekend
***This post is sponsored by Humboldt Redwood and The Motherhood. All opinions are my own. Thank you for supporting the brands that make it possible to bring you great projects***
I exclusively used 4×4 redwood boards to build the free-standing hammock stand. It is a really simple and easy build and can be built in just a few hours making it the perfect weekend project!
So, you can build one and relax in it the same the weekend.
RELATED: See more about why redwood is an awesome choice for outdoor projects

***This post contains affiliate or referral links. It is a way for this site to earn advertising fees by advertising or linking to certain products and/or services. Please read my full disclosure here ***
Video Tutorial
Below is a full video tutorial showing how I made this easy freestanding hammock stand. Step-by-step instructions and details follow.
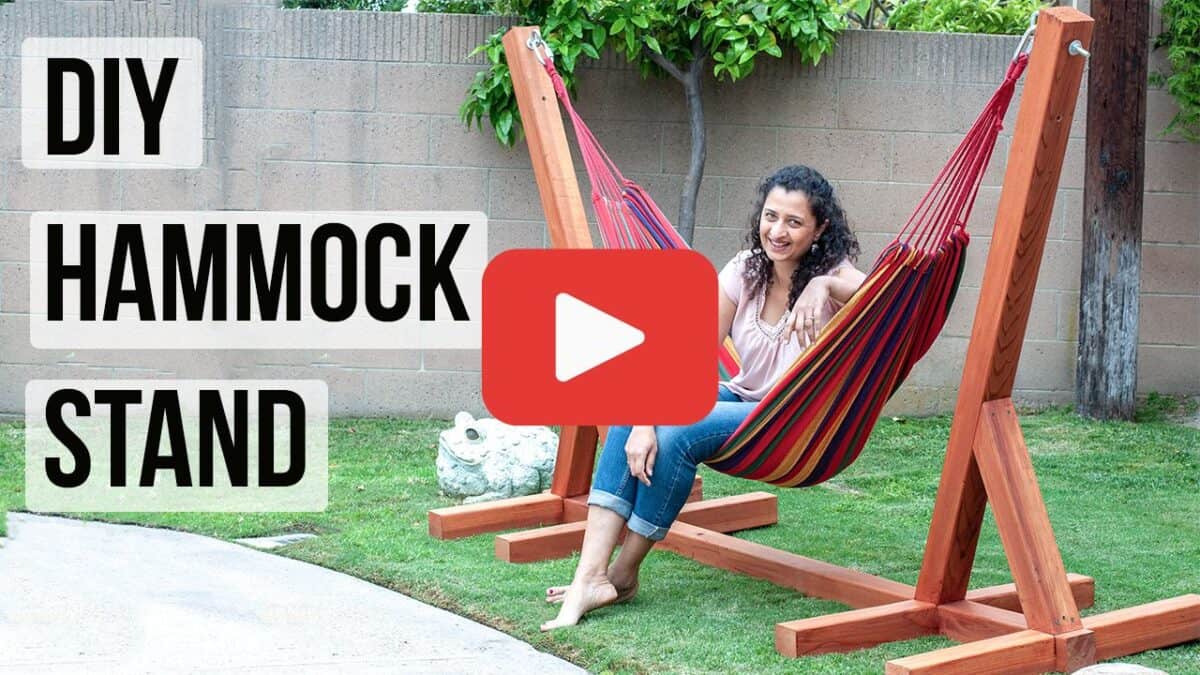
Step-By-Step Tutorial
This freestanding DIY hammock stand is really simple and has 3 basic parts –
- The base
- The uprights
- The braces
Step 1: Make Cuts for Half-Lap Joints
Once you cut the timber to size based on the plans, make cuts for the half-lap joints. There are a total of 4 half-lap joints – hence 8 cuts.
Don’t let the half-lap joints scare you!
It was my first time making these types of joints and it turned out really simple and easy using a circular saw! I promise you will love how easy it is!
Follow along in the video as I show you exactly how to do this but here are a few notes.
How to make half-lap cuts
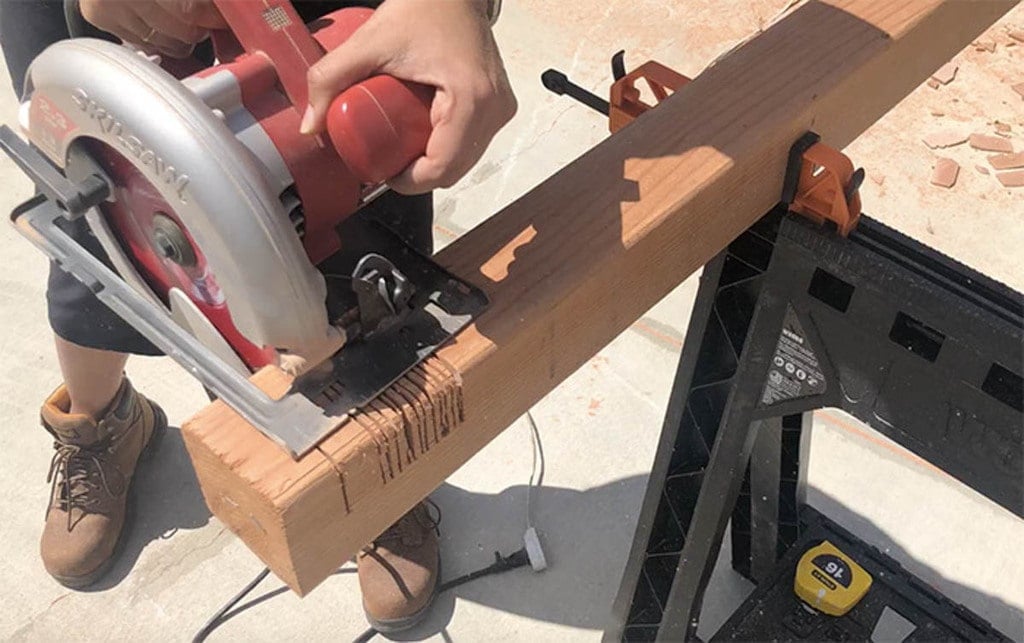
- Set your circular saw depth to half the width of the 4×4. Be sure to measure your timber stock to get the accurate size because there can be variations.
- Clamp your 4×4 posts to a sawhorse or work table and mark the exact start and end location where you want to make the half lap cuts.
- Using the circular saw, make the cuts on the lines you marked. Be sure to account for the blade kerf and that the cuts are within the lines.
- Once you have the start and end cuts defined, go to town making lots of thin cuts between the two.
- Use a chisel to break and remove all the thin chips and clean up any leftover pieces.
- That’s it! Test the joint. It should be easy to lay the other piece but tight enough that it doesn’t move.
Step 2 – Build the Base

Once the half-lap joints are cut, lay them out upside down and attach using 3″ exterior wood screws. Be sure to make pilot holes before driving the screws.
Step 3 – Attach the Uprights
This is the only step where you need two people. The upright needs to be held in place by one person while the other attaches it.
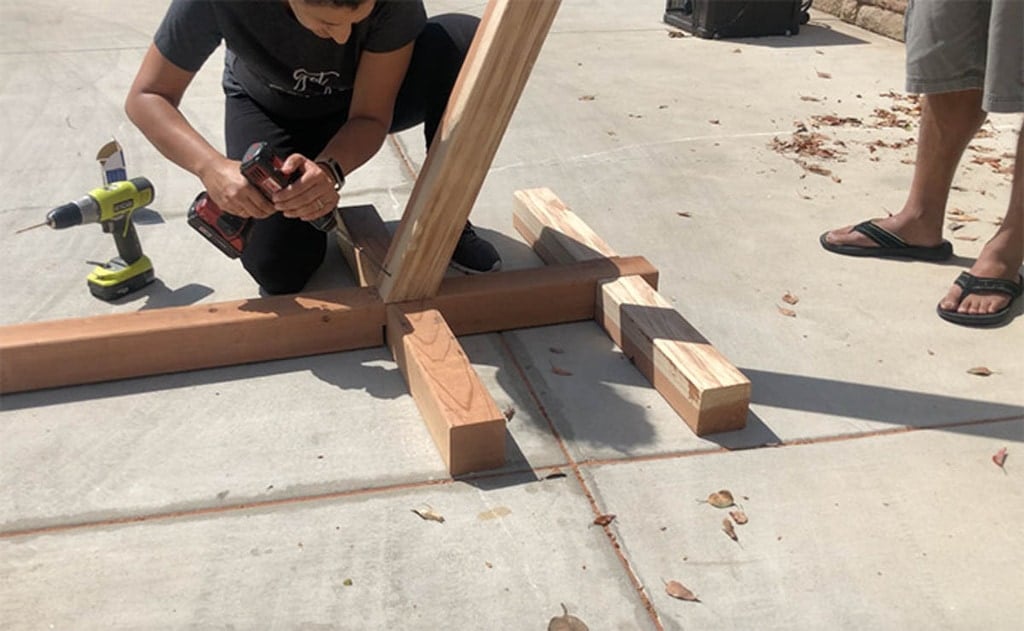
Be sure to drive the screws perpendicular to the upright.
Step 4 – Attach the Braces
- Cut and attach the braces per the plans between the base and uprights using the 3″ exterior wood screws.
- This needs to be a tight fit – it is better to start off a little longer than needed and do a rough fit as you slowly shave off the boards until you get the perfect fit.
- I also used this to mark the exact angles before cutting to account for any variations.
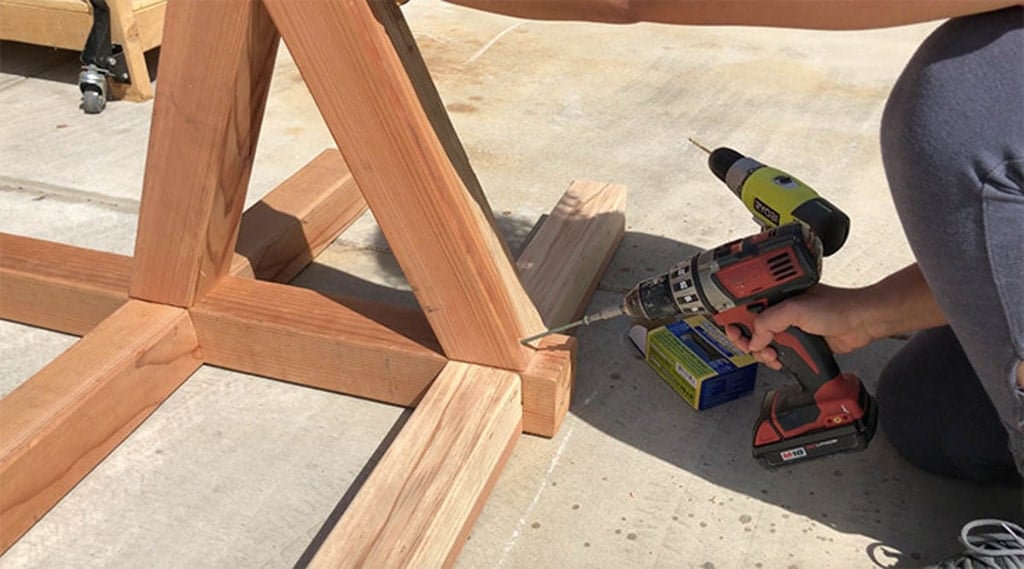
Step 5 – Finish the Hammock Stand
You can use the stain or paint of your choice to finish the hammock stand.
I used this transparent wood stain to enhance the color of the redwood.
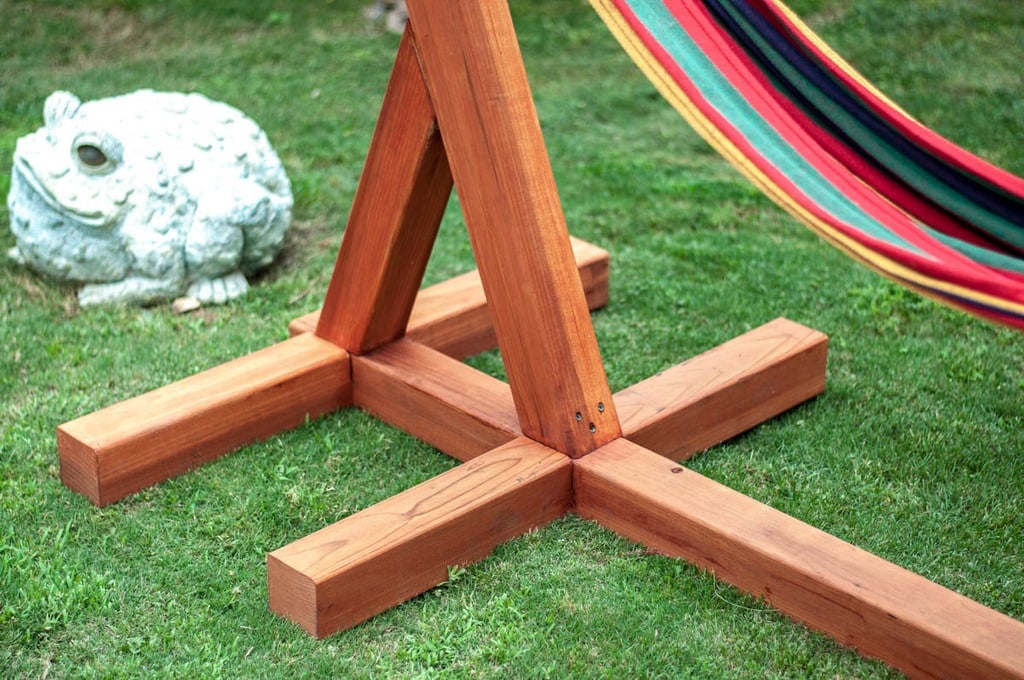
Isn’t it just gorgeous?!
Step 6 – Attach hardware for the hammock
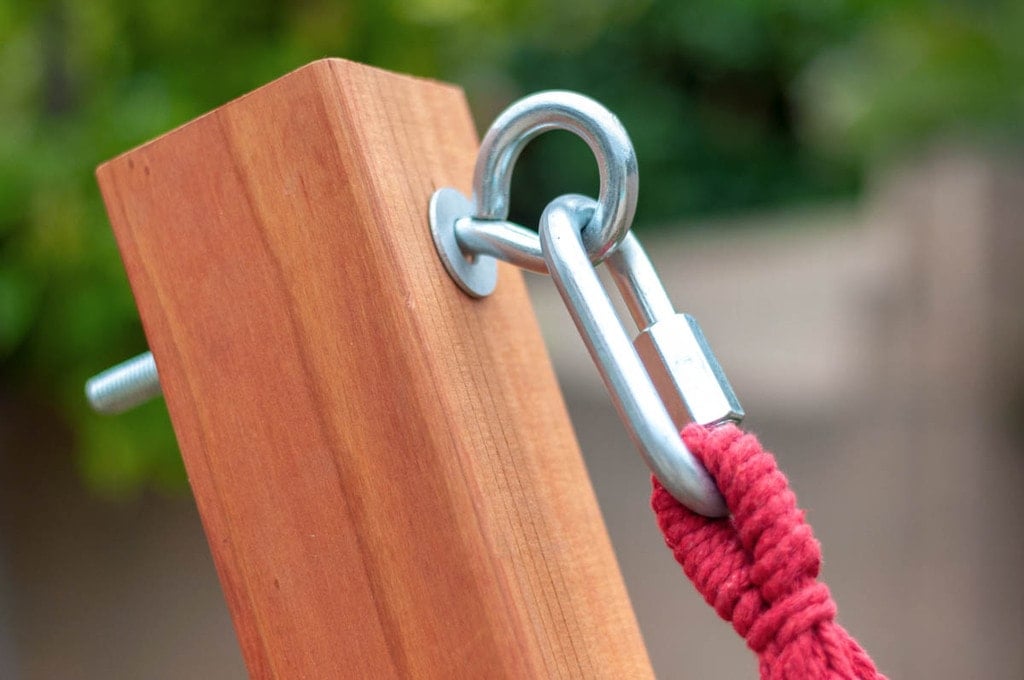
Step 7 – Add the Hammock
And enjoy!
The great thing about using redwood for this free-standing DIY hammock stand is that it is light and easy to move around.
I can actually move it around by myself! It can be easily moved in the sun to sunbathe or to a shady space to relax.
Now if you will excuse me, I need to wrangle my kids out of it so I can relax in there 🙂

Now, raise your hand if you need one of these in your backyard!
DIY Hammock Stand Plans
I have you covered with the printable plans to build your own freestanding hammock stand.
GET THE PRINTABLE PLANS
If you decide to build it, I’d love to see it! Feel free to email photos to me at [email protected] or tag me on Instagram @anikasdiylife for a chance to be featured on social media!
[mv_create key=”5″ type=”diy” title=” DIY Hammock Stand ” thumbnail=”https://www.anikasdiylife.com/wp-content/uploads/2019/05/DIY-hammock-stand-Anikas-DIY-Life-17sq500.jpg”]
If you are looking for more project ideas using Redwood, Humboldt Redwood has a lot of inspiration.
More outdoor projects –